
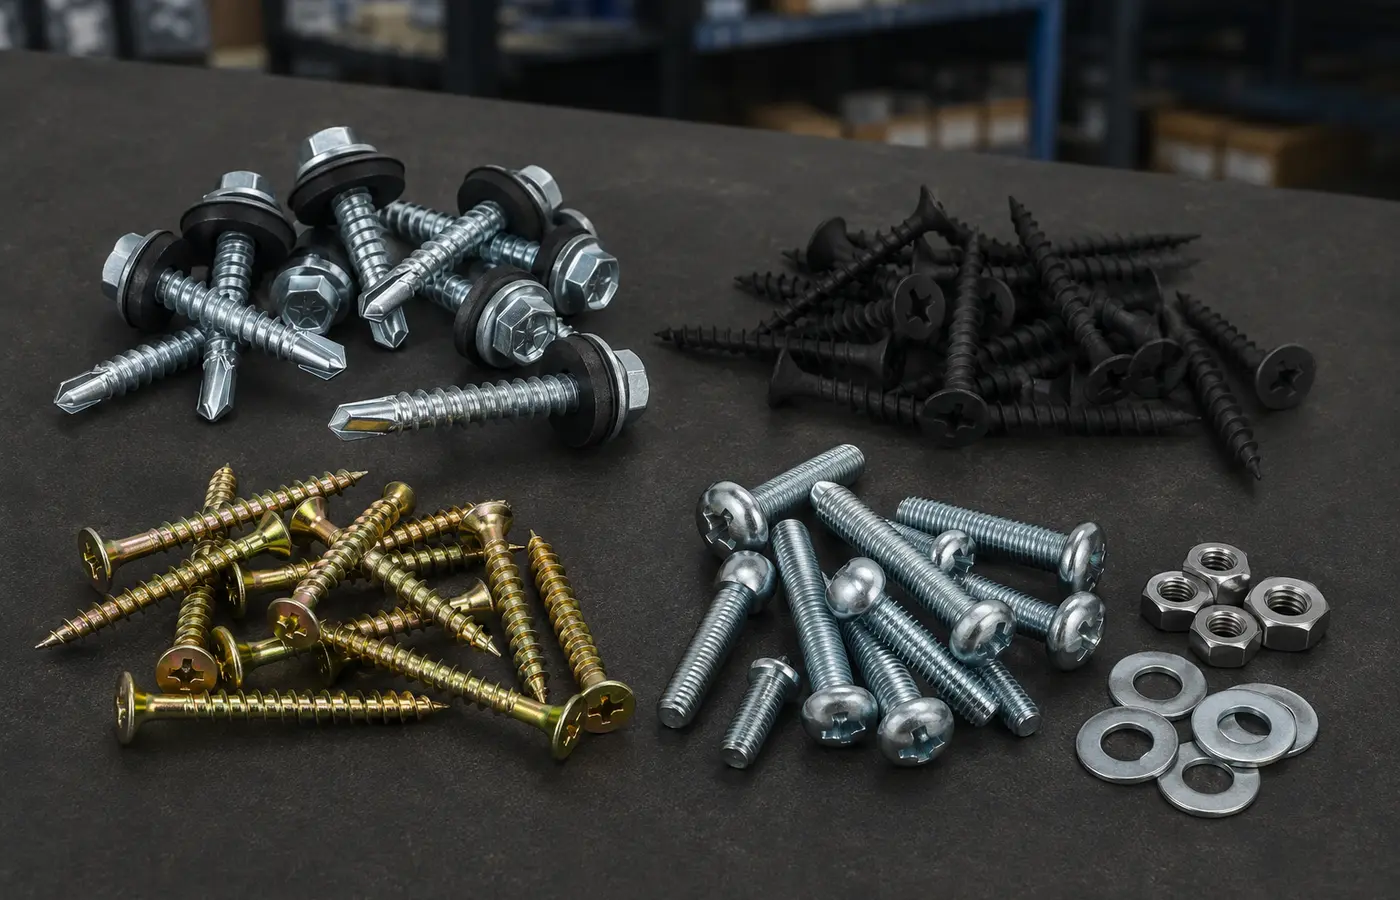
Define the joint before choosing the screw
Start with the materials, load direction, environment and whether the joint must be removable. Solid timber, plywood, OSB, MDF and particleboard do not behave identically, especially near an edge.
A screw transfers force between the head bearing on the upper piece and the threads gripping the lower piece. For structural or safety-critical work, use the engineer's design, an approved fastener and the manufacturer's data rather than a rule of thumb.
Match the screw to the material and environment
General wood screws and chipboard screws can differ in thread, shank and head geometry. Fixing hardware, cladding or a thin metal section each demands a suitable point, head and specification; begin with the stated application on the package.
For exterior work, colour alone does not prove corrosion suitability. Moisture, salts, treated timber and contact with other metals matter. Follow the maker's environmental guidance and reject damaged coatings or heads.
Calculate length from the actual joint
Measure the upper piece, washers, gaps and the useful embedment left in the lower material. The point must not emerge from the rear or approach concealed services, and head measurement can vary with head style.
A screw that is too short may provide insufficient engagement; one that is too long creates its own hazards. If parts do not close, correct alignment or bowing instead of forcing them together with extra length.
Diameter, head and drive work together
A larger diameter is not automatically safer: it can raise splitting risk in narrow timber or near panel edges. A smaller screw may offer limited shank and head capacity. Use tested manufacturer tables and engineering calculations where loads matter.
Countersunk, washer and specialist heads distribute pressure differently. Use the exact, undamaged driver bit and keep it aligned; even a high-torque drive recess will strip when the bit is wrong or tilted.
Plan pilot and clearance holes
Some wood screws are designed to work without pre-drilling in softwood, but this does not apply to every material or edge condition. SPAX specifically advises pre-drilling hard and heavy woods to reduce cracking; test unfamiliar combinations on scrap.
Pilot diameter and depth must follow screw geometry, timber density and maker guidance. Oversized holes reduce thread engagement, while undersized holes increase torque and splitting risk. A clearance hole in the upper member can help the threads pull two parts together.
Respect edges, ends and spacing
There is no universal edge distance: screw diameter, grain direction, material and load all matter. Avoid knots, cracks, panel voids and old holes when marking positions.
Moving the fastener, widening the member, pre-drilling where permitted or redesigning the detail may be better than simply choosing a thinner screw. Structural spacing and edge distances belong in the engineered design.
Drive squarely and with control
Align and clamp the parts, start the screw square to the surface, and use controlled speed and torque. Stop if resistance, cracking or swelling is unusual and inspect the hole, bit and material.
Seat the head without crushing fibres or tearing the panel face. Overdriving can strip the thread's grip or weaken the head. Test the driver setting on matching offcuts before repetitive work.
Inspect and specify clearly
Check for gaps, splits, damaged heads, protruding points and looseness. Include exterior joints in maintenance inspections; timber movement, moisture and corrosion can change the connection over time.
Order by diameter, length, head and drive type, coating or material, environment and quantity—not just by the phrase “chipboard screw.” Confirm technical documentation and installation limits for critical work.