
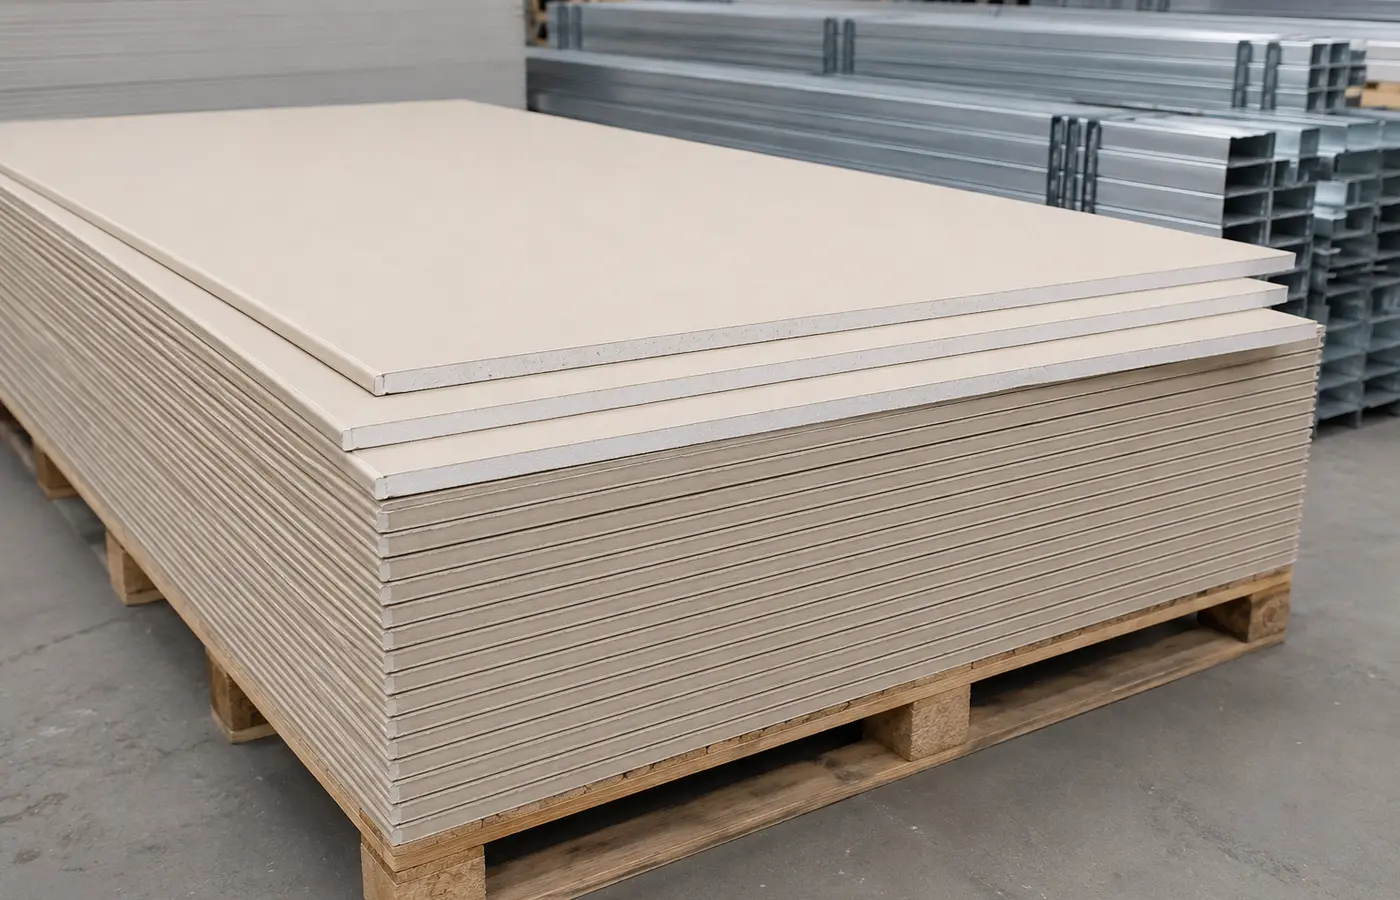
A crack is rarely only a compound problem
Movement, unsupported edges, damaged fasteners, bridged movement joints, moisture and premature recoating can all cause cracking or tape failure.
Use the board manufacturer's complete joint system, especially where tested fire or acoustic performance matters.
1. Check framing and board installation
Confirm secure, aligned framing and supported board edges before finishing. Compound cannot stabilise a moving joint.
Do not bridge structural movement joints or hide broken edges and missing support with filler.
2. Set screw heads correctly
Proud heads show through the finish; overdriven screws tear the face and reduce holding. Repair them by the specified method.
Verify spacing, edge distance, length and compatibility before joint treatment.
3. Prepare cut edges
Factory-tapered and site-cut edges require different filling. Remove loose paper and dust and follow specified bevel or primer instructions.
Resolve moisture sources and assess wet or damaged board before covering it.
4. Match tape to compound
Paper, mesh and corner tapes follow different application rules. Self-adhesive mesh is not automatically compatible with every compound or rated system.
Centre tape in a continuous compound bed without starving it or leaving an excessive ridge.
5. Build thin, wider coats
Embed and fill first, then widen and feather later coats. One thick coat increases shrinkage and uneven drying.
Butt joints need a wider transition than tapered joints; finish level depends on paint, gloss and lighting.
6. Let conditions govern drying
Ready-mixed and setting compounds cure differently. Temperature, humidity, airflow and thickness affect waiting time.
Avoid forced surface drying and recoat only after the previous layer is sufficiently hard.
7. Sand minimally and safely
Use suitable abrasives only to remove small marks; do not expose the paper face. Side lighting reveals ridges.
Control gypsum dust with extraction, ventilation and appropriate personal protection.
8. Inspect before priming
Check for bubbles, lines, screw depressions, scratches and humps from several lighting angles.
Use a compatible primer; recurring cracks require investigation of movement, moisture or fastening—not another cosmetic fill.