
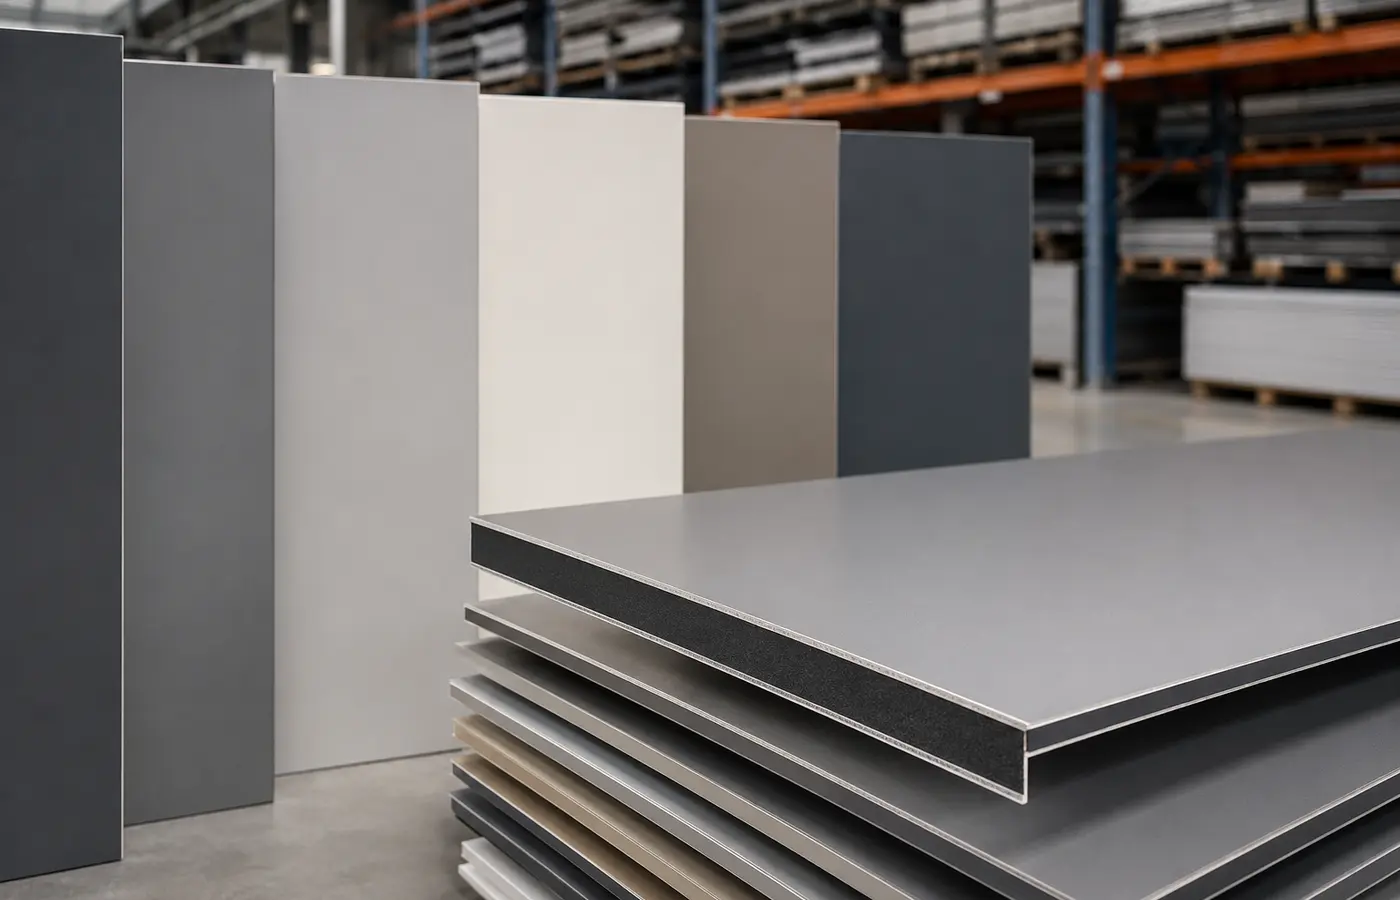
Treat the panel as a system component
Two aluminium skins and a core work together. Signage, interiors and façade cassettes require different core, edge and attachment decisions.
Routing and folding can form many shapes, but groove geometry, residual core, orientation and trial inspection must follow the exact manufacturer's guide.
1. Verify product and face direction
Check code, thickness, skins, core, colour, gloss and directional arrows before nesting. Keep directional finishes aligned.
Protective film prevents handling damage but must be removed within the supplier's limits. Keep the cutting table free of swarf.
2. Trial the cutting setup
Use the recommended blade, speed and feed, support the panel and prevent vibration. A poor tool can burr the skin or melt the core.
Test material from the same batch and inspect edge quality, delamination and dimensions before production.
3. Preserve the visible skin when V-routing
Route from the rear, leaving the outer skin and specified core thickness intact. A deep groove weakens the fold; a shallow one creates excessive force and radius.
Set depth from actual samples and the processing manual, then inspect the groove end and first folded section.
4. Fold once with continuous support
Distribute force along the fold using a flat bed and suitable tool. Over-bending and repeated reverse bending can fatigue the outer skin.
Design cassette returns, corner cleats and sealing together; structural resistance comes from the engineered assembly.
5. Detail holes for thermal movement
Aluminium expands with temperature. Define fixed and sliding points, holes and joints instead of locking a long panel at every fastener.
Check rivet or screw material, head, grip range and galvanic compatibility. Do not over-clamp the face or defeat movement details.
6. Keep joint functions clear
An open-jointed rainscreen may rely on drainage and pressure moderation; sealing it indiscriminately can block its function.
For closed joints, use the designed backing and compatible sealant geometry. Coordinate drainage and fire barriers before fabrication.
7. Record fabrication and installation
Approve a first-off part for size, diagonal, route depth, fold, direction and holes. Record tools and settings by batch.
On site, inspect rails, anchors, fixed-sliding points, joints and drainage before removing film and accepting the work.
Workshop checklist
Confirm:
- Panel, skins, core and fire classification
- Colour and direction
- Tool, speed and sample edge
- Groove and fold geometry
- Cassette and handling
- Movement points and joints
- Fastener and galvanic compatibility
- Subframe, drainage and fire barriers