
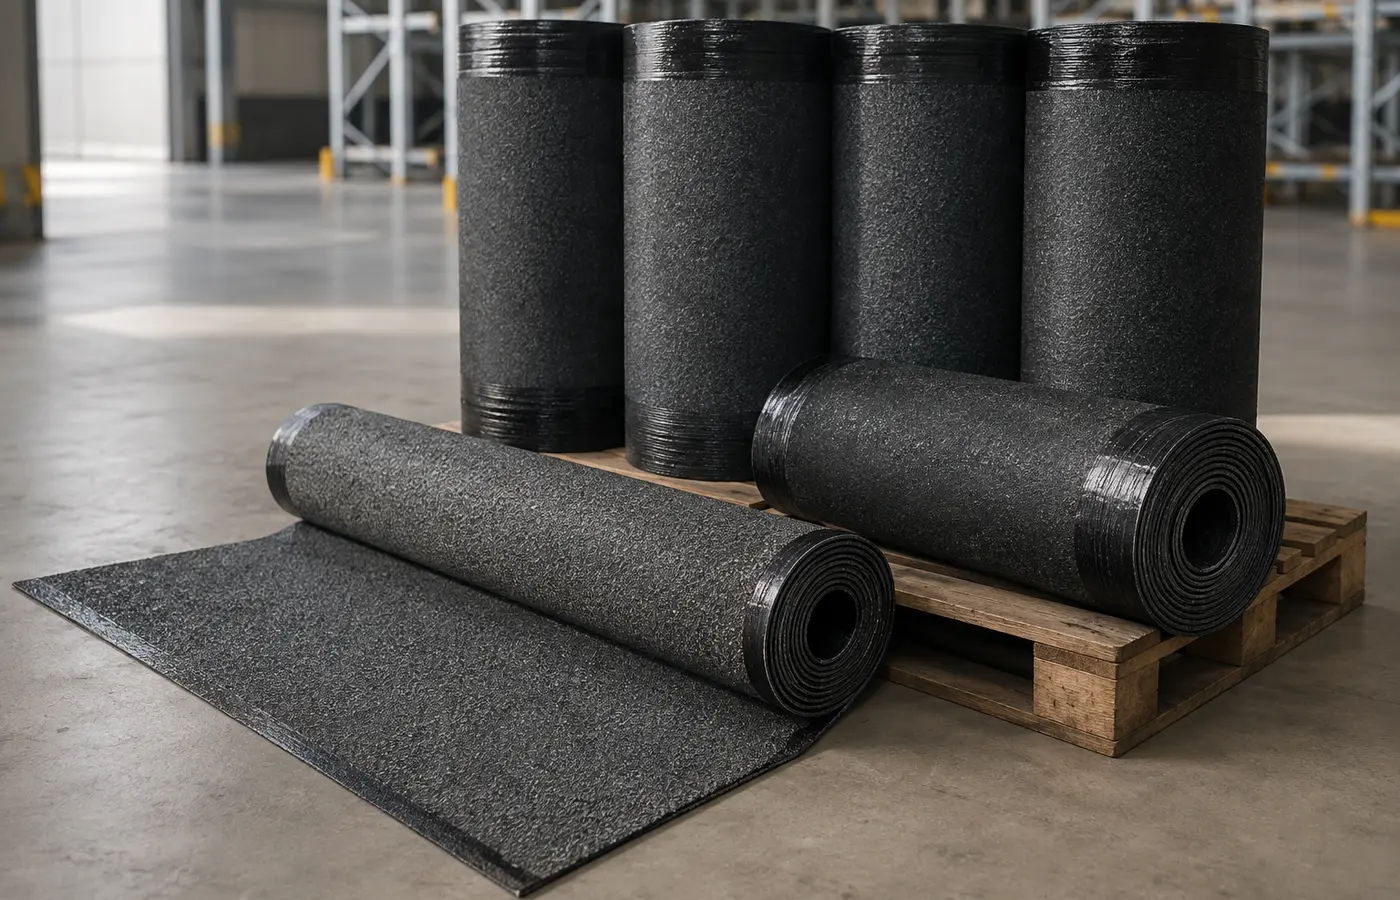
Waterproofing is tested at the junctions
Water often enters through seams, drains, corners and terminations rather than the middle of a sheet. Torch-applied, self-adhesive and mechanically fixed membranes have different details; choosing a roll does not replace a system design.
IKO's guidance calls for a level, dry and clean base and staggered end joints. Always follow the selected product's technical instructions and the roof design; a detail from one system is not a universal rule.
1. Trace the water
Map the falls, outlets, gutters, parapets and door thresholds before unrolling. Waterproofing does not correct reverse falls or persistent ponding. Plan the sheet direction and stagger the seams between layers.
Avoid concentrating several joints around a drain or in a corner. Include weather protection and the order of work in the plan.
2. Prepare the substrate
Remove dust, grease, loose concrete and sharp projections. Investigate moisture and adhesion beneath old roofing before covering it. Concrete, timber and metal each demand their own movement and joint details.
Select a primer for the substrate and installation method, then observe its specified drying time. Check compatibility with solvent-sensitive insulation and follow the product's temperature and moisture limits.
3. Make the seam for the system
Side and end laps depend on the layer and fixing method. IKO gives different figures for its self-adhesive and torched underlays; do not transfer those values to an unidentified stock membrane. Stagger end joints and form T-junctions as directed.
Torch-applied seams need controlled heating: too little leaves gaps, too much damages the sheet or substrate. Press self-adhesive laps under their own temperature and liner requirements. Inspect every completed seam for continuity.
4. Detail the outlet
An outlet is a compatible assembly of body, flange, sheet and any specified collar or clamp—not simply a hole. Keep its opening clear and prevent water from reaching beneath the membrane.
Allow for maintenance access and debris removal. Confirm compatibility with an existing outlet before installation.
5. Continue up the parapet
Prepare inside corners and upstands as the system requires; folds and wrinkles are not reliable seals. Determine the vertical height and mechanical termination from the design. A random bead of sealant cannot replace a proper termination.
Parapet caps, thresholds and later penetrations must not direct water behind the membrane. Every new roof fixing requires its own waterproofing detail.
6. Plan safe work
Torch work involves fire risks at combustible substrates, concealed voids and cylinders. Use a permitted alternative where flames are unsuitable, with competent installers, fire watch and extinguishing equipment.
Provide independent edge protection. Observe ventilation and safety data for primers, remove waste and avoid sealing wet joints simply to meet a deadline.
7. Quote and inspect the details
For a quotation, provide roof area, falls, substrate, old covering, outlet count, parapet length, penetrations, loads and photos. Confirm the precise membrane and layer system rather than inventing a stock specification.
Inspect laps, outlets, upstands and terminations on site. Water testing requires a competent assessment of the structure and drains; maintain outlets and check any later damage. Follow the engineer and manufacturer for critical fire or waterproofing decisions.