
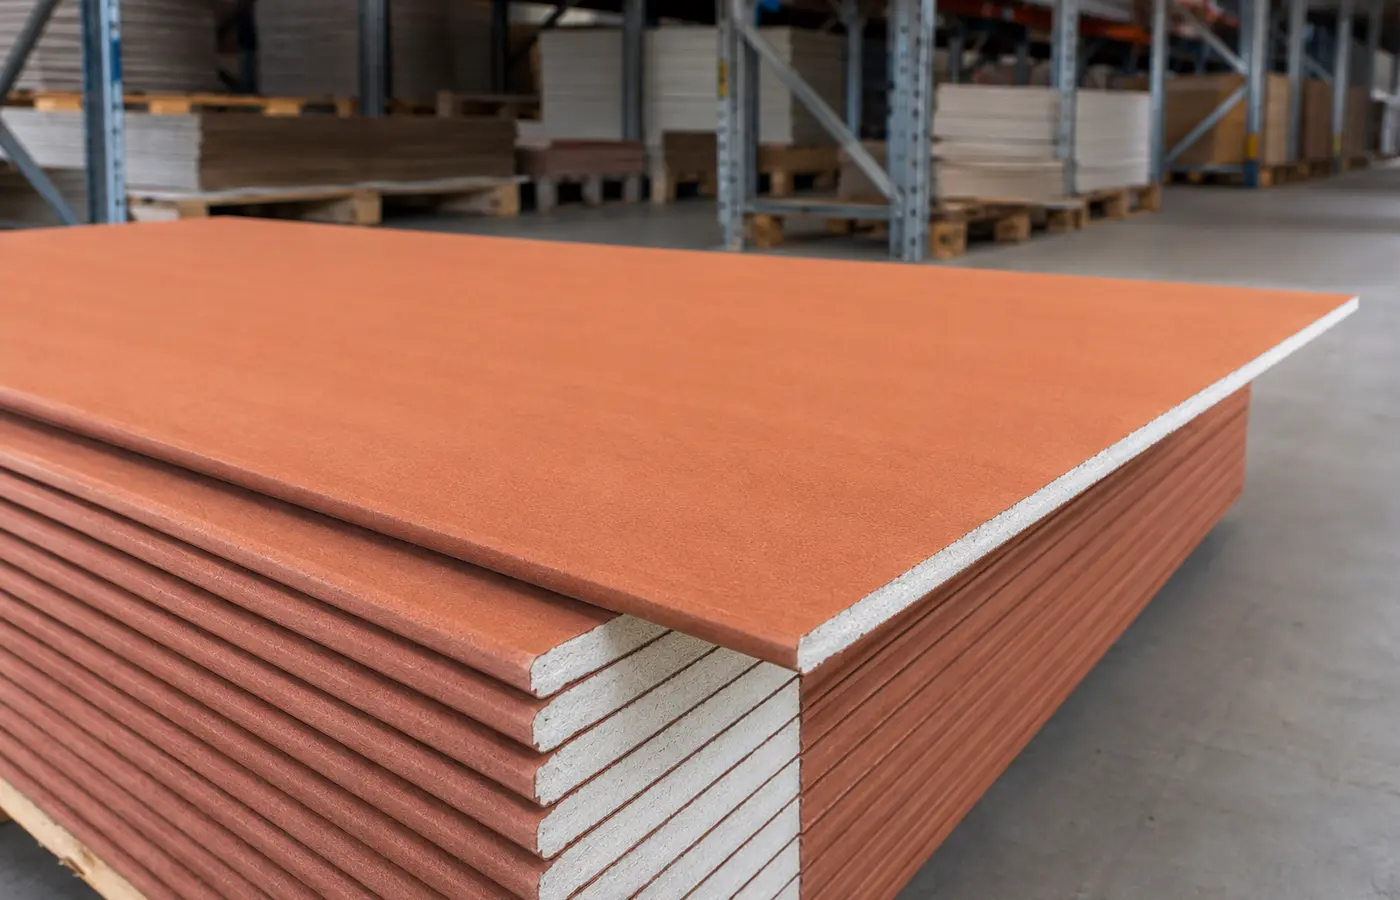
A sheathing board is not a complete façade
Exterior boards work only with the specified framing, fasteners, joints and finish layers. Weather resistance does not permit arbitrary exposed joints or coatings.
The design must coordinate wind, rain, condensation, fire, movement and final cladding. Follow the manufacturer's tested system and the project details.
1. Store flat and protected
Keep boards horizontal on wide, level supports above the floor and protect them without trapping condensation.
Do not drag edges or automatically accept wet, frozen, broken or delaminated sheets after drying.
2. Verify framing first
Studs must be secure, aligned and at the specified centres. Do not pull a distorted frame straight with the board.
Confirm edge support, openings, services and insulation before closing the wall; spacing depends on the complete designed system.
3. Cut and finish edges carefully
Mark openings from a reliable reference, use the manufacturer's cutting method, control dust and support the sheet.
Inspect cut edges and apply any specified primer, tape or sealing treatment in the correct sequence.
4. Stagger boards and joints
Install in the approved orientation with every edge supported. Avoid four corners meeting and joints terminating at opening corners unless the system permits it.
Board joints, control joints and building movement joints are different; never bridge a structural movement joint.
5. Use the specified fastener
Match screw length, head, drill capacity and corrosion protection to the board, framing and exposure. Interior drywall screws are not substitutes.
Set heads to the specified plane without leaving them proud or tearing the face; follow the stated edge distance and spacing.
6. Keep joint layers within one system
Tape, compound, primer, render, mesh and finish must be compatible parts of the approved exterior system.
Respect substrate preparation, overlap, layer thickness, curing time and weather limits.
7. Detail every water entry point
Sills, heads, parapets, penetrations, corners and bases need slopes, flashings, membranes, seals and drainage paths—not sealant alone.
Provide a continuous drainage plane where required and follow the specified ground clearance and plinth detail.
8. Inspect before covering
Check edge support, screws, staggered joints, movement joints, openings and damage before render or cladding.
Record boards, fasteners, tapes, compounds, mesh, coatings and photographs for future maintenance.