
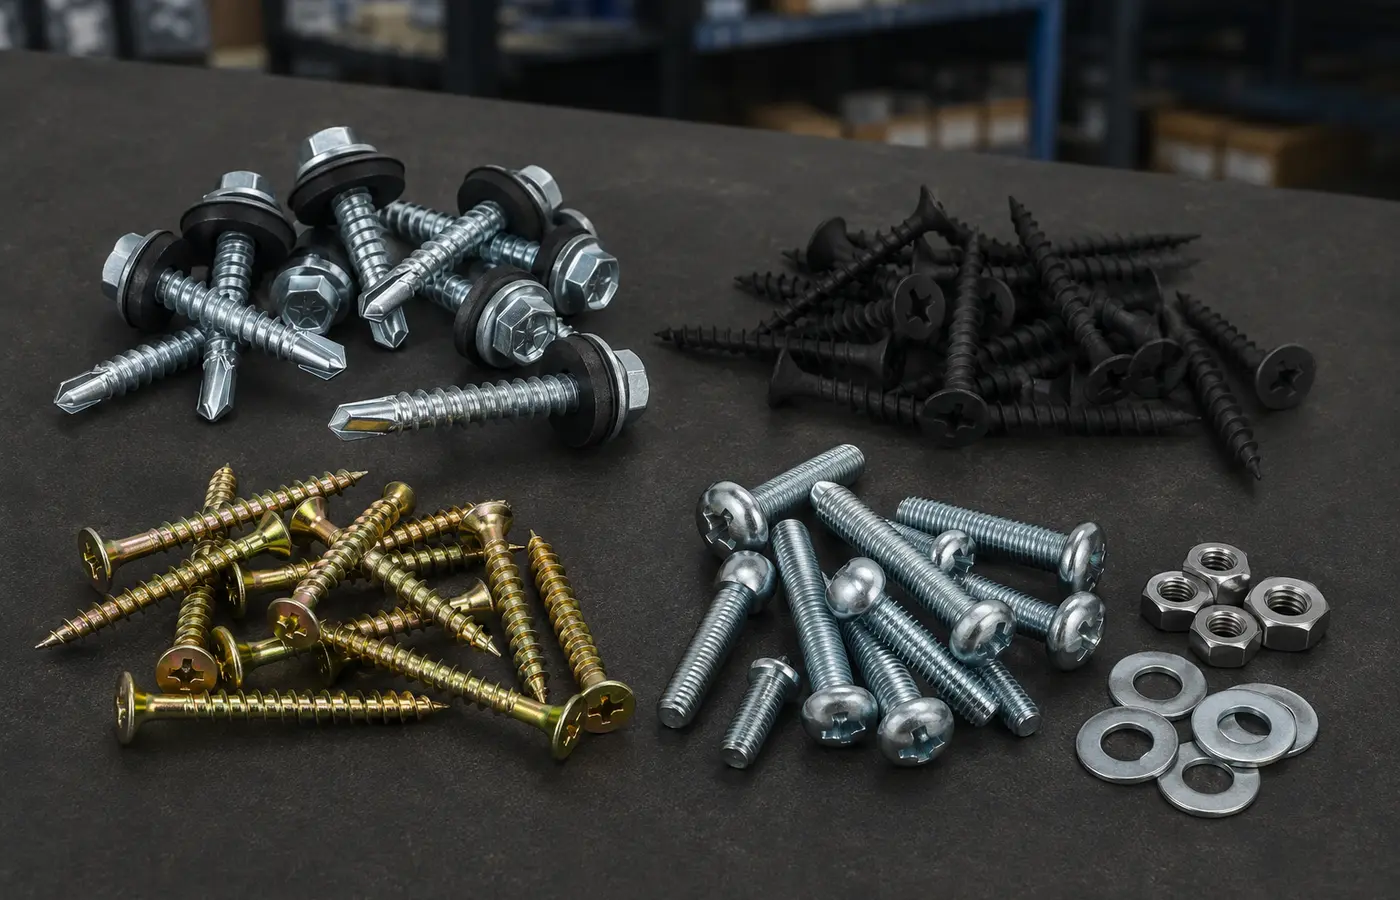
A small fastener carries a large responsibility
A screw may be the smallest item in a profiled-sheet, cladding, insulated-panel or light-steel job, yet the wrong point, insufficient length, unsuitable coating or poor installation can cause leaks, loosening, coating damage and reduced connection capacity. Asking simply for “a sheet-metal screw” is therefore not a safe specification.
The correct screw depends on the upper component, supporting material, combined drilling thickness, exposure and purpose of the joint. Primary fastening, side-lap stitching and accessory fixing are different tasks. These eight checks help you describe the requirement accurately and avoid common site errors.
1. Identify both materials being joined
Fastening profiled sheet to a steel purlin, metal to timber, two thin sheets together or a flashing to a panel may require different point and thread geometries. State the upper material and substrate separately—steel, aluminium, timber or another base—and provide their actual thicknesses where possible.
Within its stated working range, a self-drilling screw can combine drilling and thread formation without a separate pilot hole. That does not mean every pointed or drill-point screw suits every substrate. Check the product application and data sheet; do not interchange metal-to-timber, metal-to-metal and side-lap screws.
2. Match drilling capacity to the combined metal thickness
The manufacturer's drilling capacity describes the total component-thickness range that the point can penetrate. Consider all upper and lower metal layers, not only the visible sheet. If capacity is insufficient, the thread may engage before drilling is complete; the point may overheat, clog or fail to seat correctly.
A point with much greater capacity is not automatically better. Its geometry may create an oversized hole and reduce thread engagement. Select a screw within the manufacturer's stated range instead of choosing the most aggressive point. Measure the support or confirm the project information when its thickness is unknown.
3. Do not choose length from the visible sheet alone
Screw length must account for the outer sheet, insulation or spacers, washer and the required engagement in the support. Fixing through the crest or valley of a profile can also change the length. A short screw may not engage adequately; an unnecessarily long one can interfere with services, safe working space or appearance below.
Required thread projection and embedment vary between product families. Use the selected screw's data sheet and the system manufacturer's detail for exact values. For insulated panels, do not select length without a detail combining panel thickness, profile geometry and substrate.
4. Separate primary fasteners from stitching screws
A primary fastener connects the cladding to the support and resists project actions such as wind suction. A stitching screw joins sheet side laps or selected thin details. Diameter, thread, washer and spacing may differ between these duties.
Do not estimate screw count by eye or copy another roof. Building height, spans, wind zone, edge and corner areas, sheet profile and support layout affect the fastening plan. For structural or safety-critical work, screw type, quantity and spacing must follow the engineer's design and current load tables from the cladding and fastener manufacturers.
5. Check washer, coating and environmental compatibility
Roofing and façade screws may use a metal washer with an elastomer seal. The presence of a washer alone does not guarantee watertightness: the screw must enter squarely, the washer must seat evenly and tightening must match the manufacturer's guidance. An inclined screw can leave one side of the seal open.
Fastener material and protective coating must be compatible with the sheet, service environment and maintenance conditions. In coastal locations such as Kuşadası, tell the supplier about salt-laden air and persistent humidity. Contact between dissimilar metals may increase galvanic-corrosion risk. Do not assume stainless or coated automatically means suitable; confirm the manufacturer's corrosion recommendation and system compatibility.
6. Drive squarely at the specified speed
Installation speed depends on screw diameter and point design; there is no universal rpm. Excessive speed can overheat and burn the drill point, while very low speed may prevent chip removal and clog the point. Use the speed and tool guidance in the exact product data instead of applying impact mode by habit.
Hold the screw perpendicular and apply controlled axial pressure until drilling is complete. A worn socket, a wobbling bit or angled driving can damage the head and coating. Make trial fixings in the same materials before repetitive work to confirm tool setting and washer compression.
7. Under-driving and over-driving both compromise sealing
If a screw is too loose, the seal does not fully contact the surface. If it is over-driven, the elastomer can bulge excessively, the metal washer can invert, the sheet may dent and connection performance may be reduced. Use the manufacturer's visual criteria for correct washer seating.
A torque-clutch or depth-controlled metal screwdriver improves consistency, but its setting still needs checking when substrate, battery state, operator or detail changes. If a defective screw is removed, do not automatically place a new screw in the same hole; follow the manufacturer's repair detail.
8. Inspect the surface and every fixing
Do not leave drilling swarf on coated sheets. It can rust, stain the finish and scratch the coating. Remove it with a soft brush or the method recommended by the manufacturer, and correct damaged paint, inclined screws, missing fasteners, split seals and water-trapping details as work proceeds.
Roof work requires fall protection, safe access, suitable weather and personal protective equipment. Check for concealed electrical or service lines before drilling. At completion, compare the installed pattern with the fastening plan and record edge, corner, ridge, eaves and lap zones.
Information to include in one quotation request
For a faster, comparable quotation, provide:
- Upper component and supporting material
- Thickness of each layer and combined drilling thickness
- Primary, side-lap or accessory-fixing duty
- Panel or sheet geometry needed to determine length
- Indoor, outdoor, coastal, wet or chemical exposure
- Washer, head, colour and corrosion-protection requirements
- Quantity, fixing plan and any required technical documents