
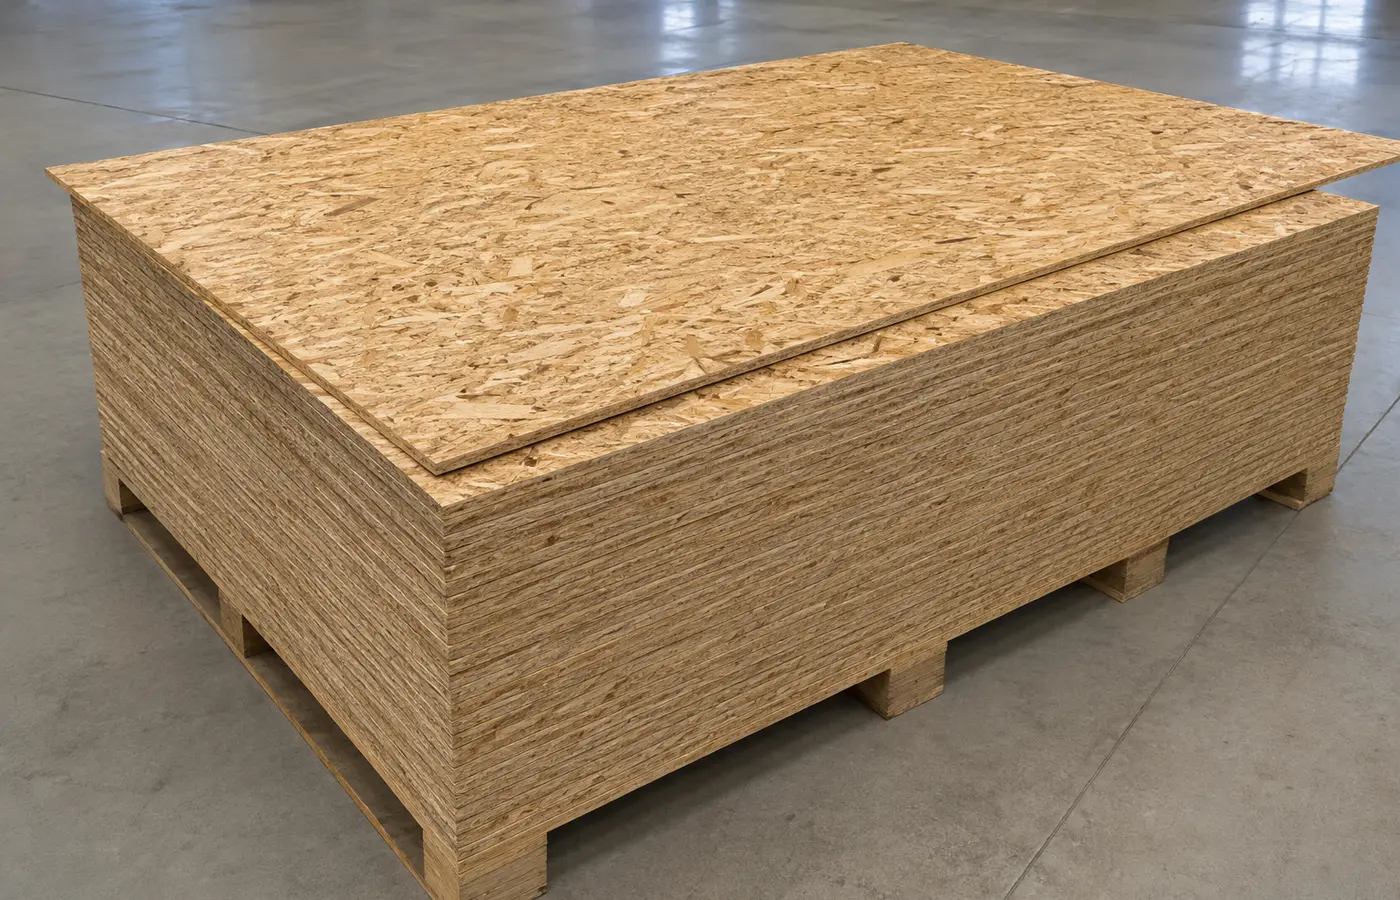
A flat roof deck starts with the complete detail
Thickness alone does not select roof sheathing. Rating, support spacing, loads, edge type and local design requirements work together.
APA guidance combines level framing, ventilation, panel gaps, correct fastening and prompt underlayment over dry sheathing.
1. Read the panel mark and strength direction
Verify grade, performance category, bond classification and span rating against the design.
Place the strength axis and tongue-and-groove face as the manufacturer requires; do not reverse panels merely to expose a stamp.
2. Correct the framing plane first
Do not force panels flat over bowed or misaligned framing. Check the plane and repair it by an approved method.
Support ends and openings with designed framing, blocking or clips so cut edges do not float.
3. Allow for moisture movement
Wood panels expand as moisture changes. APA recommends about 1/8 inch between panel edges and ends unless the product supplies or specifies another gap.
Use temporary spacers or approved clips and define additional joints for large areas when required by the design.
4. Fasten without missing or crushing
Use the specified fastener, length, corrosion protection and spacing. Hit the framing, respect edge distance and avoid over-driving heads.
Roof perimeters may need closer fastening for wind uplift; set pneumatic tools on a sample and inspect the work.
5. Limit construction wetting
Exposure-rated bonding is not permission for unlimited weathering. Store bundles flat, raised, covered and ventilated.
Protect installed panels promptly and let wet decking dry before underlayment. Assess serious edge swelling or delamination before covering.
6. Coordinate ventilation and vapour control
Indoor moisture can condense below cold sheathing. Design ventilation, airtightness and vapour control for the climate and occupancy.
Exhaust humid rooms outdoors and keep designed eave and ridge paths open; unvented roofs need their own verified assembly.
7. Roof over a dry, sound surface
Remove raised fasteners, loose edges, debris and standing water before installing the specified underlayment and roof finish.
Do not make large later penetrations without review, and inspect roof covering, vents and interior moisture signs together.
Installation checklist
Confirm:
- Panel standard and rating
- Supports, loads and strength axis
- Edge support and openings
- Gaps and large-area joints
- Fastener schedule
- Storage and dryness
- Ventilation and vapour control
- Underlayment and final inspection