
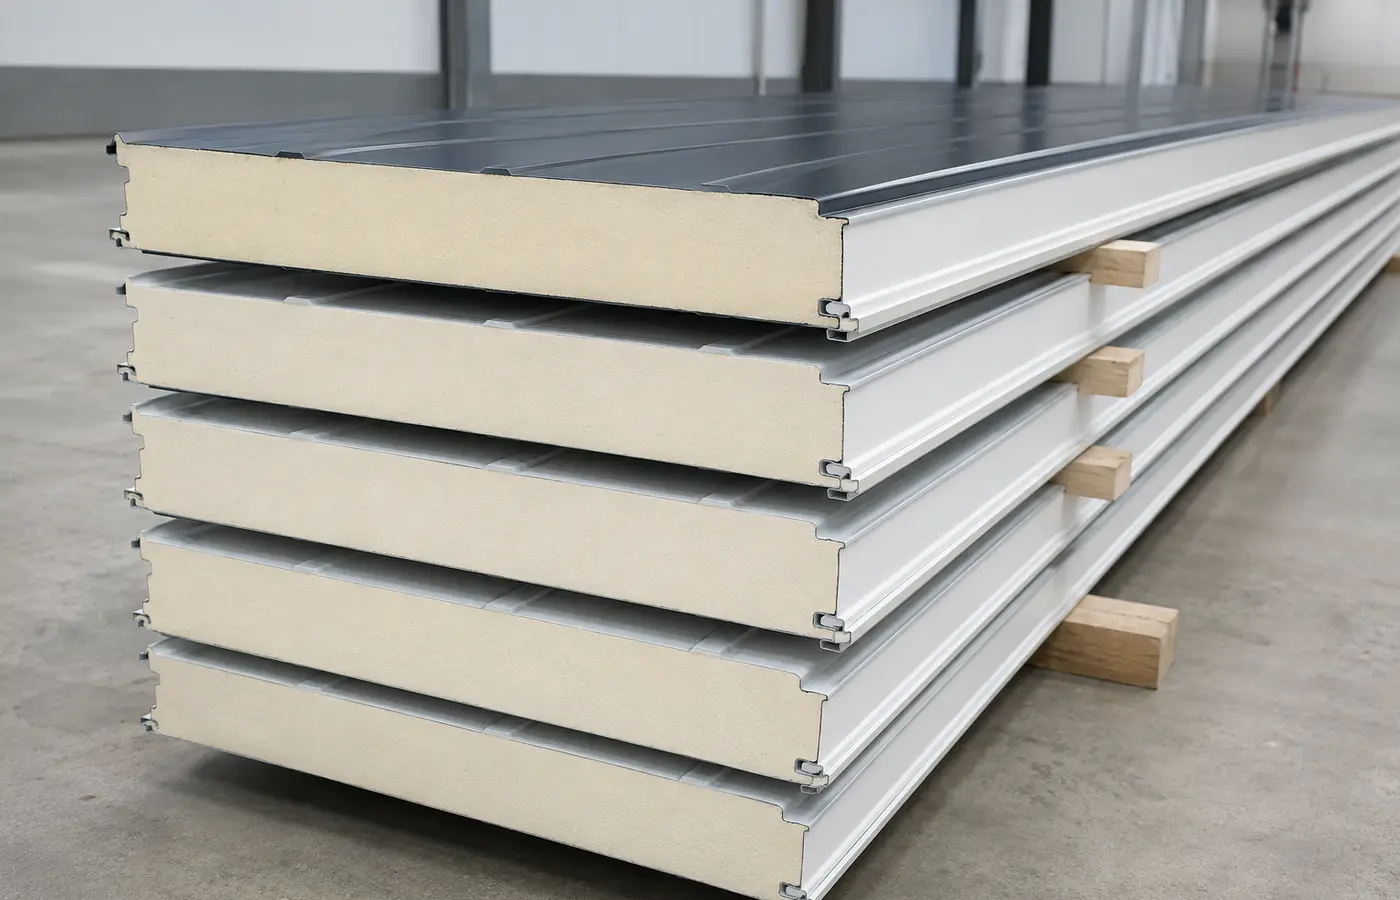
Treat the façade as a system
An insulated panel works with its faces, core, joint, fasteners and flashings. Thickness alone cannot resolve span, wind, fire, corrosion and temperature conditions; use engineering and current manufacturer data.
Metl-Span guides require installers to review project drawings and product instructions before work. Joint, clip, sealant and flashing arrangements vary, so this guide does not invent universal fastener spacing.
Verify supports before panels arrive
Check support axes, plane, level and fixing surfaces. Pulling a panel onto misaligned framing with screws can open joints, distort faces and crush coatings.
Confirm steel thickness against screw drilling capacity and remove weld spatter, burrs and obstructions. Complete concealed air, vapour, fire and service details before closing the wall.
Build a draining, level base
The first course controls the entire elevation. Install the starter or base flashing level and at the designed elevation, with laps arranged to drain outward.
Keep the core away from soil and persistent moisture. Exterior drainage and interior airtightness perform different jobs; do not block drainage with uncontrolled foam, mortar or sealant.
Plumb the first panel and preserve direction
Set the first panel plumb and on grid, verify top and bottom references, and fasten in the sequence specified by the maker.
Maintain the tongue-and-groove or concealed-joint direction shown in the drawings. Reversing panels mid-run can defeat joint geometry and weather laps.
Check insulation, air and water continuity
A closed exterior line is not enough: cores must meet without gaps and the specified interior air-vapour and exterior rain-control lines must continue through each joint.
Do not strike faces with a metal hammer. If a joint will not close, inspect framing plane, edge damage, gaskets, sealant and debris instead of forcing it with extra screws.
Drive fasteners square and under control
Fastener type, length, washer, corrosion resistance and spacing come from the manufacturer and structural design. Drive square to the support and remove drilling swarf promptly.
Overdriving can dish the sheet and distort the washer; underdriving leaves inadequate compression. Use adjusted equipment and an approved repair detail for misplaced holes.
Resolve openings, corners and top terminations early
Coordinate windows, doors, sills, jambs, corners, parapets and lap sequence before setting panels. Protect exposed core at cut edges.
Flashings must shed water outward and account for movement and material compatibility. Use the manufacturer's recommended cold-cutting method and keep sparks away from panels.
Remove film, clean and inspect
Remove protective film within the maker's stated period and never score the coating with a knife. Verify compatible cleaners rather than using random solvents.
Inspect plane, plumb, joints, washer compression, flashings, openings and base drainage. Repair scratches, exposed core and wrong holes by approved methods and retain photographs for maintenance.