
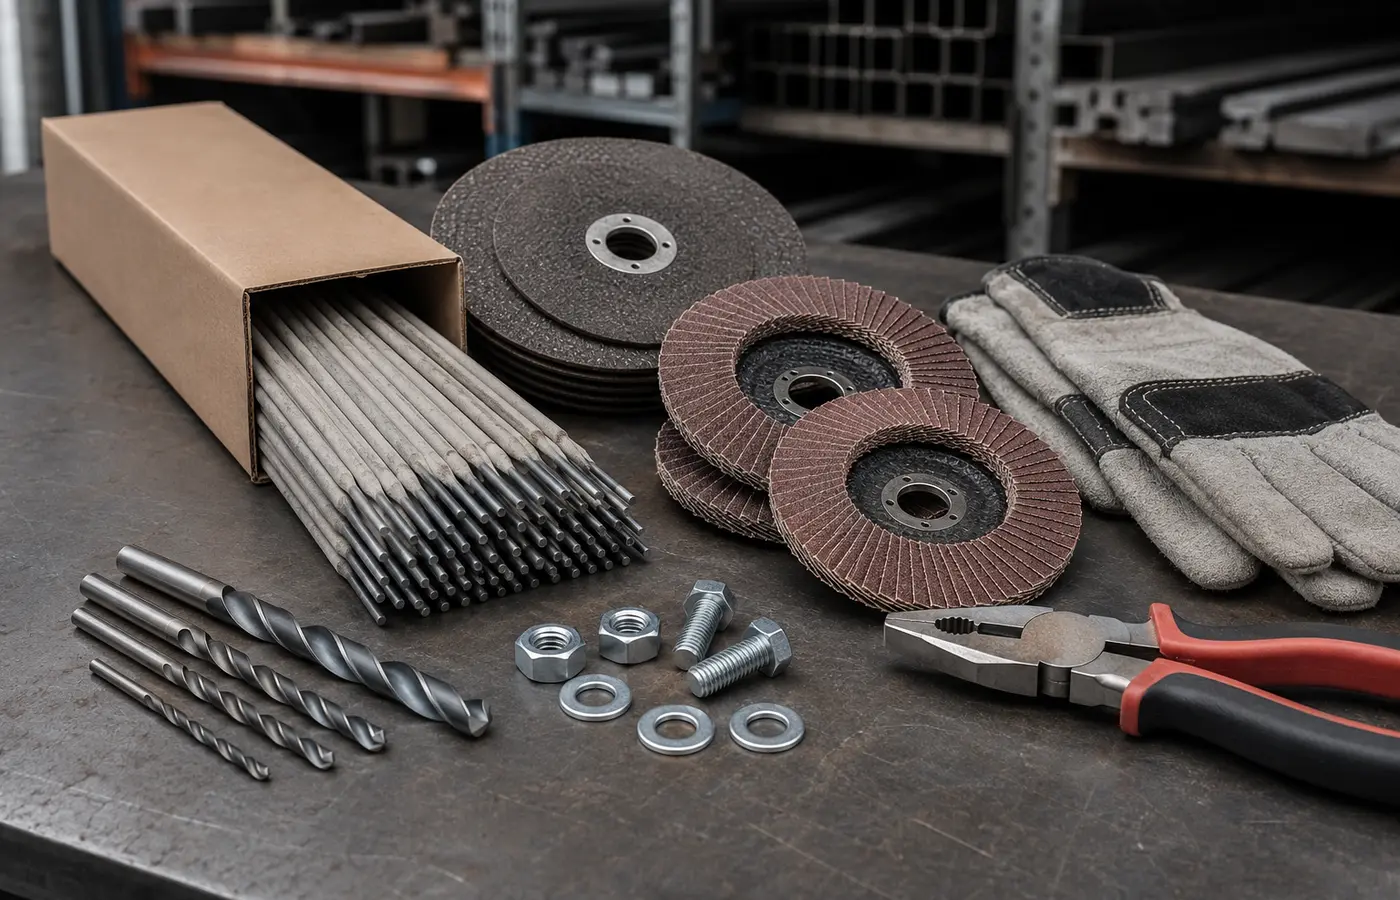
Cutting and grinding discs are not interchangeable
Thin cutting wheels work in the cut; grinding wheels are built for controlled material removal. Side-loading a cutting wheel can expose it to forces it was not designed to carry.
Follow the markings and instructions for both wheel and machine; a wheel that rotates on steel is not automatically suitable for every alloy or operation.
1. Read dimensions and speed
Diameter, thickness and bore must match the machine. Never remove a guard to fit a larger wheel or improvise bushes and washers.
The wheel's maximum operating speed must not be below the tool's no-load speed. Do not use a wheel whose label cannot be verified.
2. Match wheel, material and task
Use wheels marked for cutting, grinding or finishing as intended. Flap-disc grit also changes the resulting surface.
Aluminium, stainless steel, carbon steel and coated surfaces may require different abrasive systems; consult the product label and data sheet.
3. Store correctly
Keep abrasives dry, clean, protected from temperature swings and free from bending loads. Retain original packaging and rotate stock.
Respect expiry and traceability information. Quarantine wheels with unreadable dates, maker or technical classification.
4. Inspect before every use
Reject cracked, chipped, warped, wet, impact-damaged or questionable wheels. Do not test a doubtful wheel at full speed.
Check the guard, side handle, spindle, flanges, cable and workpiece support. Direct sparks away from combustibles.
5. Mount with power isolated
Disconnect the plug or battery, clean the spindle and flanges, follow directional arrows and use the flange orientation specified by the tool maker.
Do not overtighten. After mounting, stand outside the wheel plane for a brief no-load test and stop for vibration, noise or run-out.
6. Avoid bending and pinching
Hold the tool with both hands and let the wheel cut at its intended rate. Never grind on the side of a cutting wheel or force it to change direction in the kerf.
Support the work so the cut cannot close, keep clear of the kickback path and wait for the wheel to stop before setting the tool down.
7. Plan PPE and the work area
Use suitable eye protection and a face shield, plus hearing, hand, clothing and respiratory protection appropriate to the risk.
Provide extraction or ventilation for metal and coating dust, remove combustibles and monitor for delayed ignition from hot sparks.
8. Inspect after the job
Do not return a newly damaged or unevenly worn wheel to storage. Follow the maker's discard criteria and never transfer a worn wheel to another machine.
Deburr cut edges appropriately and separately restore damaged paint or zinc protection where required.